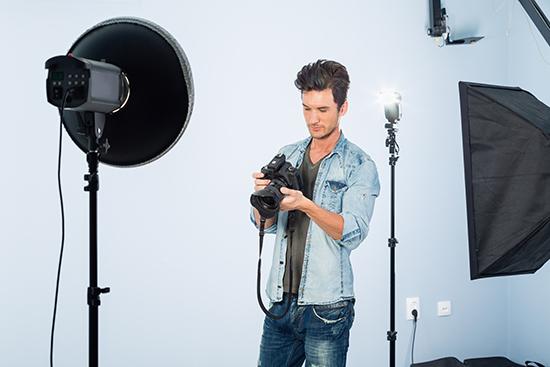
Knowing how to use off camera flash is a challenge for everyone at first. I've never met anyone who understands it straight away. Fortunately, with just a little bit of patience and persistence, you can become comfortable using off camera flash to enhance your photography. In this blog, I will share some of my advice to get you started.
The key to lighting is to keep it simple. Many students get confused by the amount of equipment available (flash, wireless triggers, soft boxes, etc.), but when you start using off camera flash, you will realise that it is very easy to understand.
Here are four steps to follow to take your first portrait using off camera flash:
1. Camera setup
We want to have our camera set up so that the only light impacting the exposure is coming from our off camera flash. This means that you should set up your camera so that the ambient light from any artificial lights and windows is eliminated as much as possible. This will allow us to have complete control over the shape, density and brightness of our off camera flash. Later on, you may want to experiment with introducing other light sources, but at the beginning keep it simple!
Start off with the following settings: f/8 (aperture), 1/200 (shutter speed) and ISO100. This should hopefully result in a completely underexposed image. If not, then further reduce your aperture until you achieve a black, blank image. A word of warning - with most cameras you can't set the shutter speed much higher than 1/200 or you risk getting black bands appearing in your frame. This is due to flash synchronisation issues at such a high shutter speed.
When controlling exposure using flash with stationary subjects, first set shutter speed to 1/200 and leave it there. Beyond that, your exposure should be set with aperture, ISO (try to keep this as low as possible) and also by adjusting your flash output power.
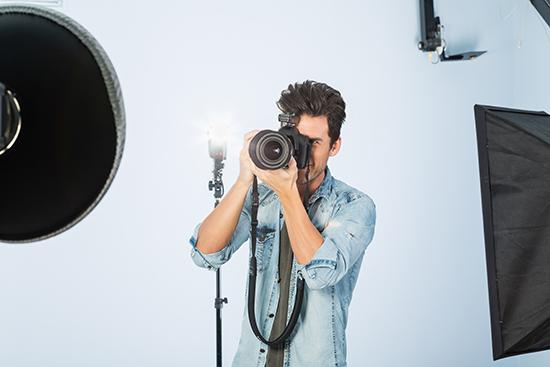
2. Introduce your flash
Set your camera to manual mode and your flash to around mid-power. Take a test shot of an object to make sure your flash is firing and then look at the resulting photo. Is it too bright or too dark? Adjust the power level of your flash accordingly. If you reach the upper or lower limit of the flash power and you're still not achieving the exposure you need, you can start changing your aperture and ISO. Remember you can also impact the power of the flash by changing the distance between the flash and your subject - the closer the flash is to the subject, the brighter it will be. Keep in mind, however, that as you change the distance, you will also change the shape of the light that is hitting your subject.
3. The direction of the flash
Now that your exposure and flash power are set correctly, you can experiment with the angle and direction of the flash by taking test shots. Remember to consider the suitability of the different lighting techniques you could use. For example, Rembrandt or loop lighting might work well for a bright and friendly image but split lighting might be more appropriate for a dramatic portrait. It all depends on the style you want to achieve.
Pay attention to your exposure when you move the flash as you may need to make adjustments to the flash power or your camera settings (aperture/ISO) in order to compensate for the change in distance between the flash and your subject.
4. Setting up the background
The distance between your subject and the background is an important consideration when using off camera flash as this will make a huge difference to the final image. Are you going for a totally clean, neutral background? Then don't have your subject standing against (or very close to) your background as this will result in strong, dark shadows appearing on the background. This is especially important to think about if you're only using one flash, as you don't have a secondary light source to control these shadows.
However, if you are limited on space and want to lighten any shadows being cast on the background, then you could try to position a reflector on the opposite side of the flash. This should bounce a little bit of the light from your flash onto the background to lift the shadows.
By following these steps you should be able to get a good understanding of how to use off camera flash. This will open up a new range of possibilities for you with your photography, so it’s very worthwhile practicing these techniques.